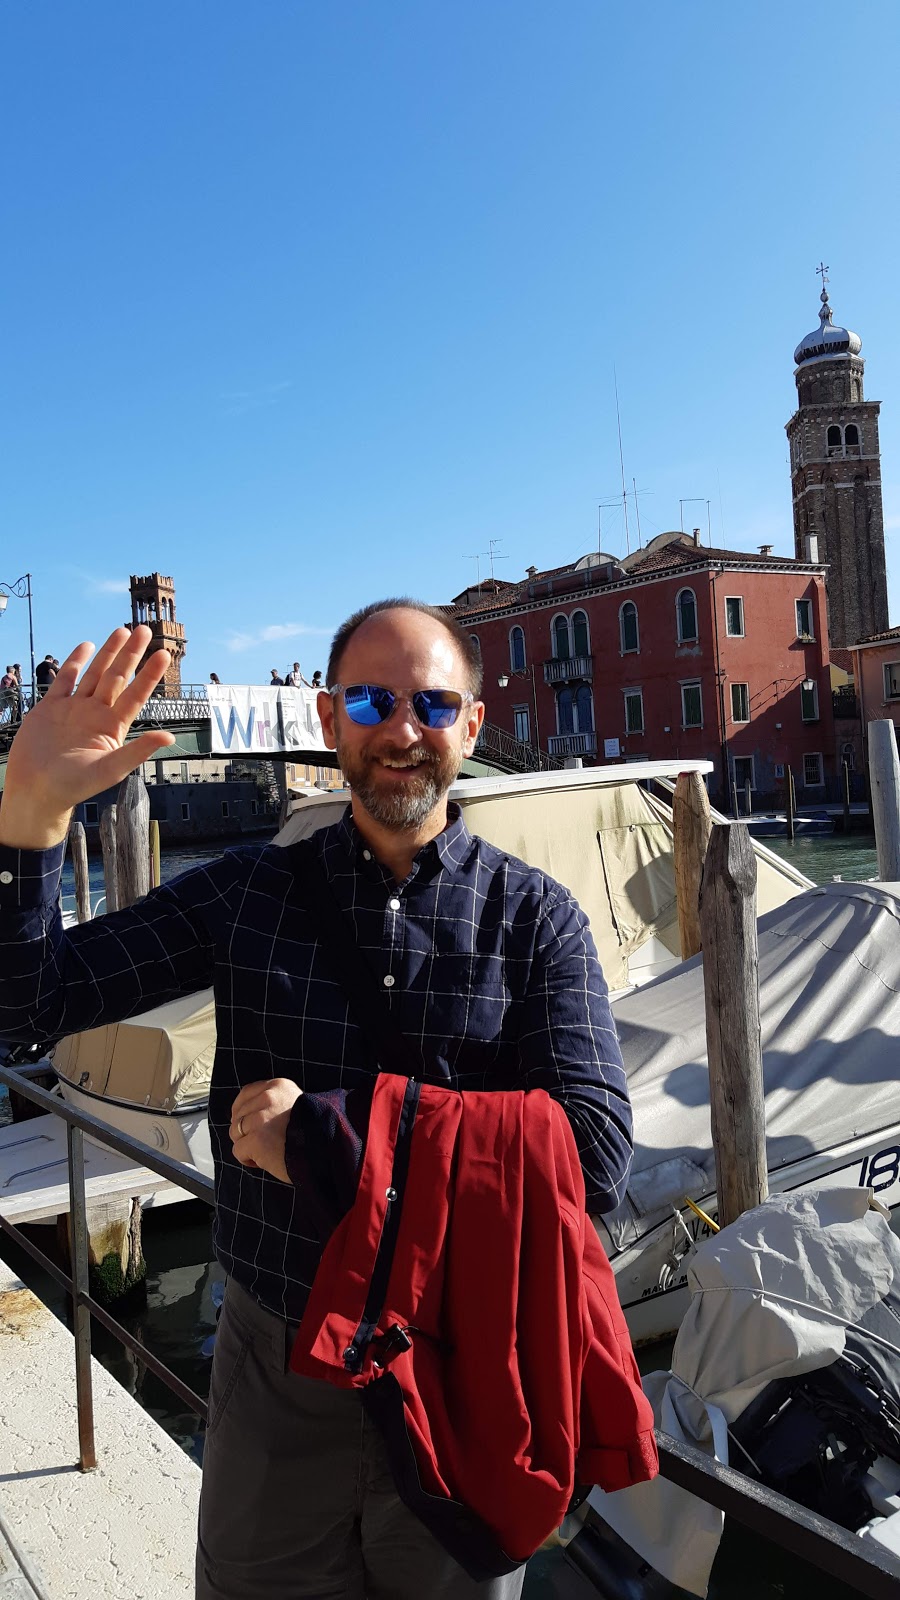
Michael and I decided to take a few days this weekend to run to Venice. We were hoping to find a spiffy chandelier for the dining room, since Michael had fallen in love with an over-the-top, exuberant creation that made him laugh because it's "so bad it's good again," as he put it.
We love the train route, because we left Perugia at 6.35 (meaning leaving Todi just before 6), and were in Venice by 12:00 or so. Find the hotel, dump our bags, and we were just in time for lunch and some serious vaporetto travel!
 |
| The table that I remembered |
 |
| Ground floor |

But first, the hotel. I was absolutely stupefied to have a memory triggered by the floor mosaics and mosaic tables on the first floor of the hotel (second, to Americans), since the ground floor didn't seem at all familiar. Adding to the disconcerting experience, I realized that I couldn't remember a Venice trip when I had actually been in the hotel. I named my trips, accounted for my companions, and identified the hotel for each. Couldn't work it out. Asked the kids to identify the table or other of the photos (had I been another time I couldn't recall?). No dice.
Later, when we got back, I asked Jeremy if I'd taken the girls and not him, and he responded readily, "yes of course, because you brought me back the cola bottle candies." Kids' memories are fabulous!
We went to a delightful, not terribly expensive restaurant near the hotel. They had an interior garden area, which of course we requested, given the nice weather. Michael and I both remembered having been introduced to a delightful Venetian fast food of mini open-faced sandwiches, but couldn't remember what they were called: "Cicchetti," responded our waitress. Turns out, there was a cicchetteria not far off, so that was planned for a different day.
 |
They go from the sublime
to the ridiculous
|
 |
We sent this to the geometra,
who couldn't believe we were
in Venice. |
 |
| The chapel at the cemetery |
Next on the list was Murano. This is an island off of Venice, accessible by vaporetto (the public transit system consists of these small ferries). All the glass-making was historically done on the island to reduce the risk of fires in Venice proper. Since Michael hadn't been able to visit Murano the previous time we'd been to Venice, he got to enjoy seeing all the shops for the first time. Many shops have attached furnaces, where you can actually see the glass being blown. This is always fun, but we decided we'd rather spend the time hunting down our chandelier.
 |
| On the way back to the hotel |
After much searching, we found one we thought was silly and funny and close to "right" for the space, but somehow it wasn't our memory of what had really resonated with us. We decided we should find the store where we'd seen that chandelier the first time.
We were tired and probably cranky, but we took the vaporetto back to Venice, and walked clear across the island to get to the shop. The chandelier (or one like it) was still there, and yes, it was just as perfect as Michael had remembered. End of story, right?
Wrong. It was too large. Our table is rather narrow, and our dining room is rather narrow. The chandelier would be about 10 cm (4") wider than the table. Gah! The next size down just looked diminutive and pitiful and had nowhere near the vavoom of the first one. We talked to the shopkeeper, who called his factory. They said that they could squish the framework down by 10 cm to make it the maximum dimension the room can support. Problem solved, right?
Wrong. The next morning, we were greeted with an email from the first shopkeeper where we'd found a pretty good chandelier (and with whom we'd been quite descriptive about what we were looking for). She thought she'd found just the one for us, and would we come take a look? Yes, we would.
So we hared off back to Murano, only to find the most fabulous wedding cake confection of a chandelier that certainly had enough pizzazz for one lifetime. The price was right, and the dimension was right. We were ready to close on the deal, particularly since I'd had nightmares and anxiety dreams about too-large chandeliers.
But. In the interest of due diligence, we decided to check back on our first choice just to see how it felt. And we loved it all over again.
We bought essentially the chandelier that Michael would have bought a year ago. Of course, it's a special-order assembly, so they'll have to ship it. I cannot wait to see our electricians' faces when they see what they get to hang up!
 |
We were amused by the speed trap (the officers in the
blue boat had a full set-up to catch speeders) |
 |
| You're never far from a bridge |
 |
The intriguing thing about Venice
is, despite the crowds, it's never hard
to find a deserted alley. There are
many of these "underpasses" throughout
the city. |
 |
This chimney I'm guessing was
a communal oven back in the day |
 |
Venice is an interesting blend of
old and new (post-War) |
 |
| The wood carvings were extraordinary in this shop |
 |
| We enjoyed a few minutes in the park |
 |
| It wasn't raining, but the weather was "soft" on Sunday |
 |
In Umbria, you can tell that clay
is cheaper than wood: the decking
above the beams is always terra cotta
tile |
 |
A somewhat crowded street,
but we weren't there in high season |
Sunday morning, we wandered through the alleys and thoroughfares. And Sunday afternoon, it was back to Todi! We got back in time for a somewhat late dinner with Jeremy, and then bed on time.
Love,
Alexandra


 But first, the hotel. I was absolutely stupefied to have a memory triggered by the floor mosaics and mosaic tables on the first floor of the hotel (second, to Americans), since the ground floor didn't seem at all familiar. Adding to the disconcerting experience, I realized that I couldn't remember a Venice trip when I had actually been in the hotel. I named my trips, accounted for my companions, and identified the hotel for each. Couldn't work it out. Asked the kids to identify the table or other of the photos (had I been another time I couldn't recall?). No dice.


